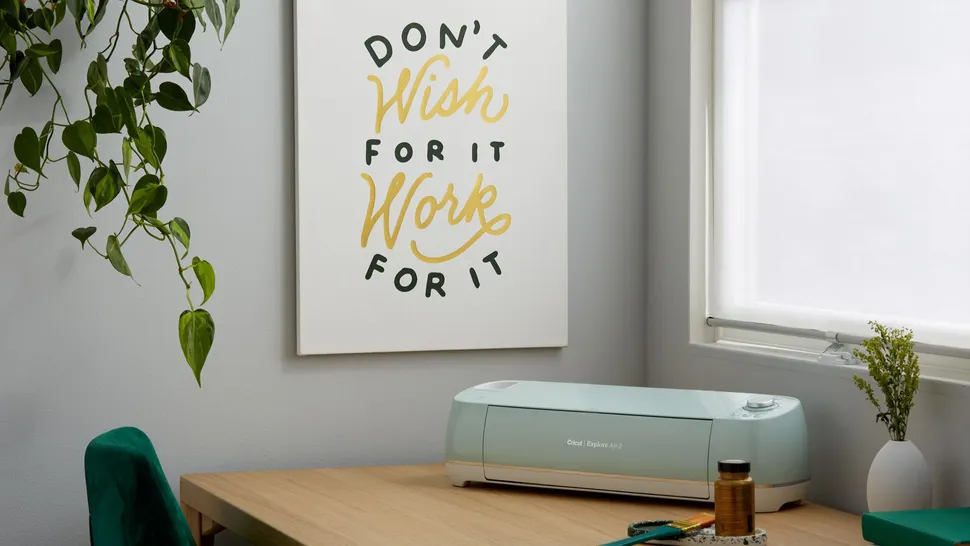
How to Make Stencils with Cricut? [A Comprehensive Guide]
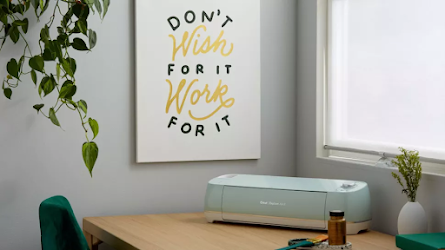
Cricut machines are ideal for making stencils because the machine can take all the work by cutting the material and ensuring you have a perfect, professional stencil. In this tutorial blog, we will walk you through all the steps needed to make stencils with Cricut. Also, learn how to make a basic stencil. It might seem a bit complicated initially, but it can be really simple once you start making stencils. Through this, you can decorate anything you want like, for example, pillows, wall decors, and custom t-shirts.
What is a Stencil?
Before beginning with
the steps to make stencils with Cricut
machine, we first need to understand what stencil means. It is a thin sheet of
material cut out of a design, usually plastic, Vinyl, or paper. They are
versatile and can range from simple to complex, depending on your design.
Further, you can make
stencils on different materials with a Cricut machine. You can make Reusable stencils using acetate,
plastic, or laminating sheets. And for One-Time
stencils, you can use vinyl sheets, contact paper, and Cricut stencil
material.
What are the Materials and Tools to Make Stencils?
Before starting to make stencils with Cricut, there are a
few important materials you will need. Let us take a look at the tools and
materials that you need for making stencils.
- You need to get a project upon which your stencil
will go. The project surface can be blank, wooden tray, t-shirt, or plain
wall.
- Next, you need material to cut your stencil, such as
Vinyl, paper, cardstock, etc.
- Further, you need Transfer Tape, especially working with Vinyl, for safe
transferring of the design.
- You also need a stencil
brush or a simple sponge brush.
- Most importantly, you must have Weeding, Scraper, and Brayer tools.
How to Cut Stencil Vinyl with Cricut?
Now, we will look at how
to design on Design Space and cut the stencil on the material.
- The first step in any Cricut project is to make your
stencil on Design Space or
select the design from the Cricut Access Library.
- Otherwise, you can even upload a stencil SVG file.

- If you want to design your stencil image, you make a
stencil with a monogram, some text, a short quote, an illustration, or any
combination of these elements.
- Remember that all the design elements must be
touching, specifically to cut the stencil vinyl as one solid piece.
- After finalizing the stencil design, you can prepare
the Vinyl for cutting.
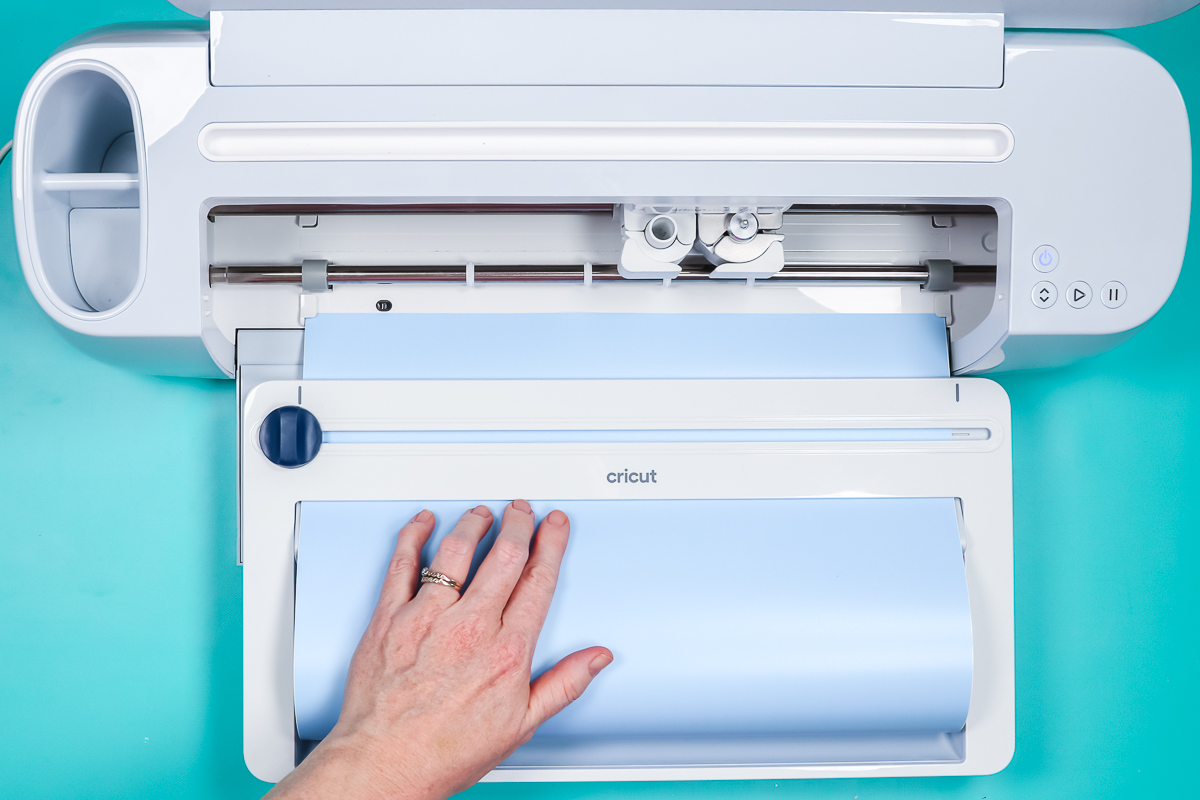
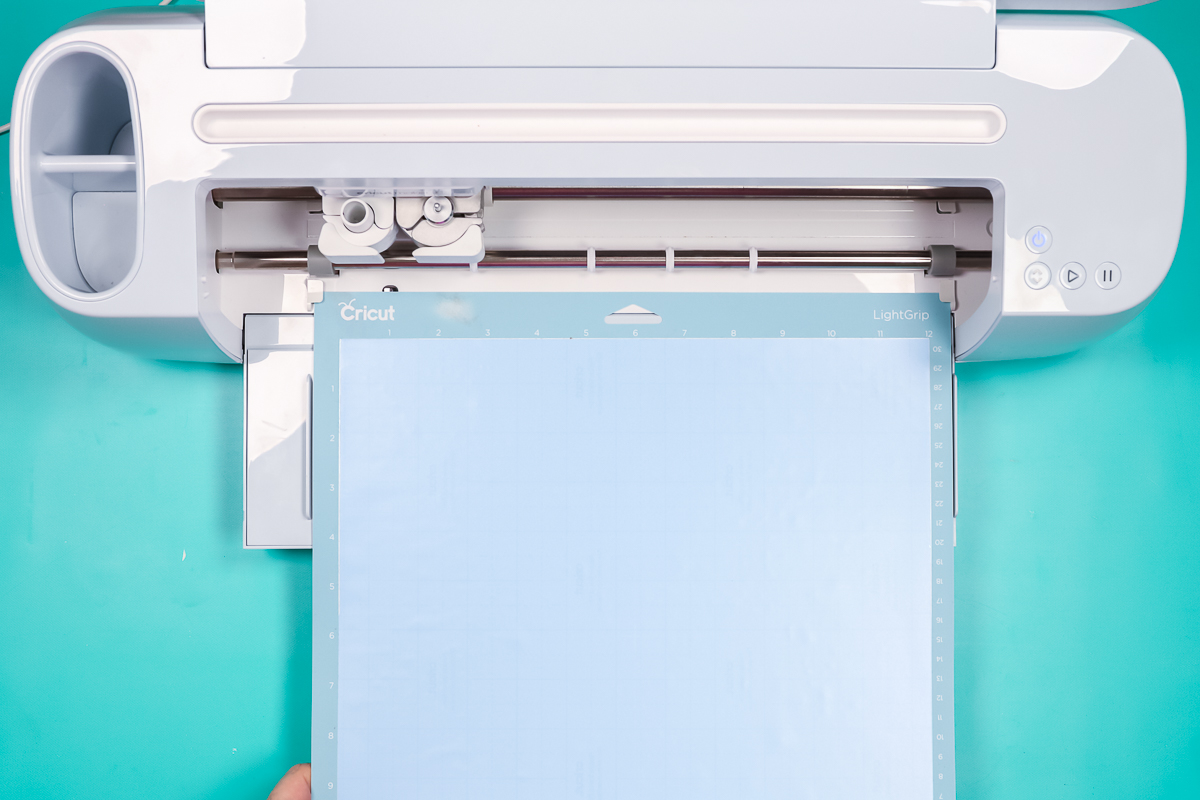
- For that, the first step is to place the stencil
vinyl on the surface of a Light
Grip or Standard Grip cutting mat.

- You can also use the Brayer tool to roll the stencil vinyl and ensure it is flat,
smooth, and well-adhered to the mat.
- Later, you need to press the load button into the
machine by pressing the arrow buttons.
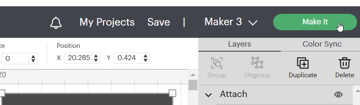
- Further, open the Design Space with your design on
it, and from there, send the file to your Cricut machine. For that, select
the Make It option present in
the top-right corner.
- Cross-check if your design looks correct in the
Prepare screen, then select Continue.
- Afterward, you will see a Make Screen window; you must select your material from the
list.

- Now, your machine will cut the design on the mat.
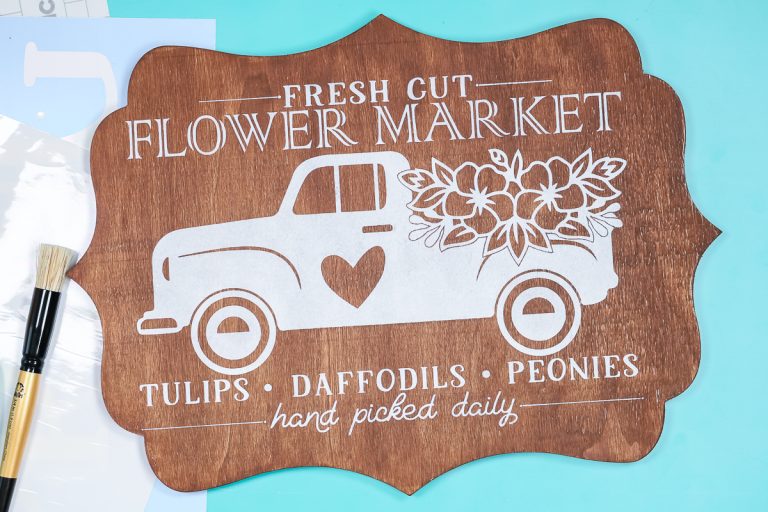
How to Apply the Stencil on the Project Surface?
The final stage is
applying the stencil vinyl onto the project surface and painting it. Let us see
how to do it.
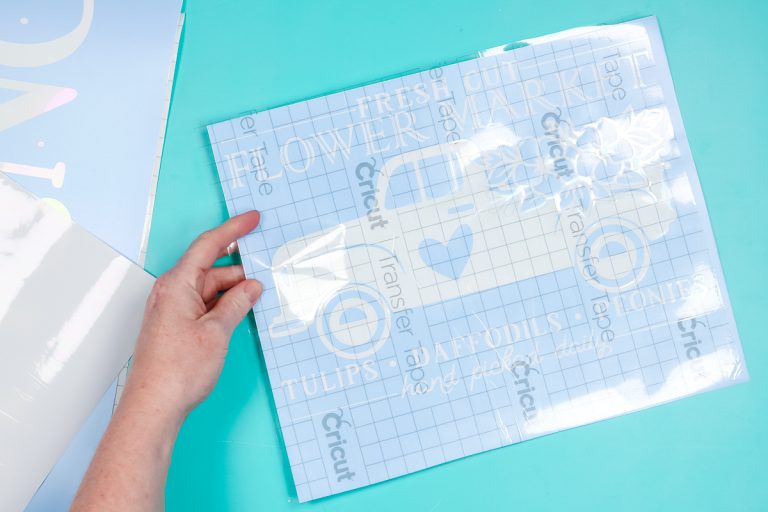
- Next, apply the stencil on the project surface so it
is dry and clean.
- Later, you need to place the cut vinyl onto the
surface carefully.
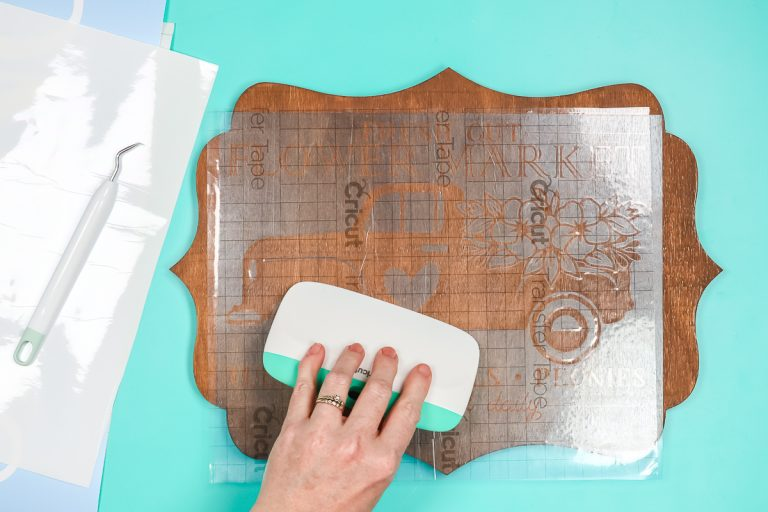
- If you are using the Transfer Tape, weed out all the excess materials first. And
then, place the tape on the Vinyl and burnish the stencil on it.

- Now, you can place the design onto the surface. You
can burn the stencil vinyl onto your project area using your Scraper tool.
- After applying the stencil, it is time to paint the
design.
- For painting the stencil, you can use a stencil brush or a sponge brush, which helps dab a
light coat of paint over the stencil vinyl.

- Once the paint is dry, gently remove the stencil
vinyl.
- Finally, your stencil is ready.

Conclusion
To summarize, a stencil
is a thin sheet of material, usually of plastic, Vinyl, or paper, cut with a
design from a Cricut machine. They are versatile and very attractive to look
at. So, in this blog, we learned how to make
stencils with Cricut, the materials you can use. Also, the steps involved
in making a stencil.
FAQs
Do I need to weed a stencil vinyl?
No, you don’t have to
weed out the stencil always. The weeding of a stencil usually depends on the
level of intricacy of your design. Sometimes, if the stencil Vinyl is thick and
strong compared to the normal Vinyl, you can remove it from its backing without
disturbing the design. So, if the design is simple, you can remove the stencil
design easily.
Can I use stencil vinyl for glass etching?
Yes, you can use the
stencil vinyl to etch the glass surface. But, as the Cricut stencil vinyl is
thicker when compared to regular Vinyl, it can be a bit challenging to apply to
curved surfaces. Remember that etching can be done only on tempered glass or
colored glass. Also, it can be done on Pyrex and glazed ceramics. It is
important to choose a smooth, glossy finish.
Can I reuse the Cricut stencil vinyl?
Yes, you can reuse the
Cricut stencil vinyl. To reuse it, you just need to reposition the Cricut
stencil vinyl on the different areas. Later, you need to let the previous paint
dry. After the paint is dried, you can carefully peel off the Vinyl. Now, the
adhesive will be sticky enough that the stencil will attach to the new area and
use it again.
Visit - Cricut.com/setup
Source URL: - Make stencils with Cricut


Comments
Post a Comment